Wednesday, August 13, 2014

The Theme is Kids

Another Stamp Club card . . . this time the theme was to create a card suitable for children.  I thought that this super cute fairy by Eat Cake Graphics would be perfect . . . that, and I got to use my Copics. . .which I love.


Thanks for stopping by today!

Monday, August 11, 2014

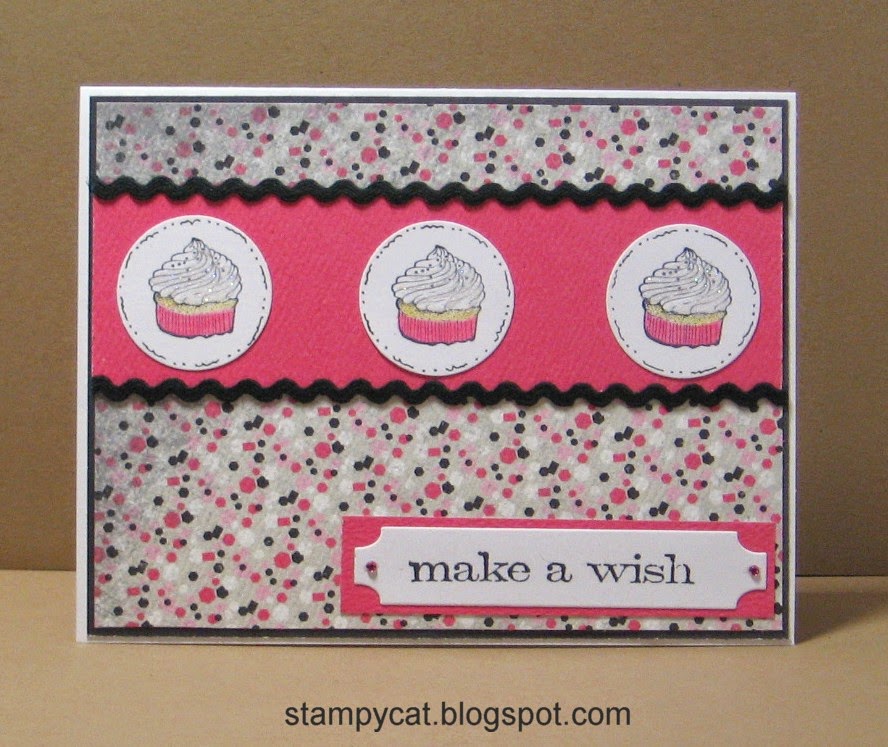
Couldn't Resist Another Cupcake Stamp

Really . . . can one ever have to many cupcake stamps??  I think not . . .so I picked up a super cute stamp set by Prima that not only has a cupcake, but a bunch of coffee related stamps as well.  (Which is another image that's my favorite to use).

On a side note. . . I almost named my blog "Cupcakes & Coffee Cups" . . .but realized that there's nothing to obvious about being a crafty type of blog . . . .

Anywho . . . here's a card I created using the Coffee Break Cling Stamp Set by Prima and a sentiment from Tim Holtz' Simple Sayings Set, which was stamped on a piece of cardstock die cut using one of the (many) fabu dies in the Custom Panels set from Avery Elle:


Pretty quick . . . pretty simple . .. but I'm happy with how it turned out.

Thanks for visiting today!

Friday, August 08, 2014

It's a Box

I know the Envelope Punch Board is nothing new . . . but, I've just had so much fun with it.  This little box is one of the sample projects I made for my "Demo Day" . . . I also showed how to make this box during my demo.  Thought I'd share a tutorial with you here so you can make a box, too.


Supplies Needed:
  • Envelope Punch Board
  • Four sheets of 6" x 6" cardstock
  • Scissors
  • Aileene's Quick Dry Tacky Glue or Glossy Accents


Step 1:
Create four envelopes using the Envelope Punch Board for a 3" x 4" card.  Fold all score lines.


Step 2:
Cut off the right flaps of each envelope.


Step 3: 
Line up the envelopes so the left flaps overlap where the right flaps were cut off and glue them down.


Step 4:
Fold the remaining left flap down (left to right) and apply adhesive.


Step 5:
Fold the fourth envelope over to meet the flap with adhesive and press down.  (You will have a flat box.)


Step 6:
Adhere the bottom flaps.  Fold top flaps over and adhere, if desired.  Embellish to your heart's content.


I hope you enjoyed today's tutorial . . . .thanks for stopping by!


Monday, August 04, 2014

A Tisket, A Tasket . . .

. . . I made a basket . . . using the Envelope Punch Board!  It's true!  You can create this EVER so cute basket with the Envelope Punch Board!


I gotta admit . . . when I was asked to demo this thing, I wasn't too impressed with it. . . my thought was, "eh, it makes envelopes . . . big deal."

Oh how wrong I was!  This fancy little tool can do so much!  Boxes, bags, baskets . . .the list goes on.  I've really enjoyed creating all sorts of things with it.

So much so, that I'll be teaching a class at The Making Place in September.  (Stay tuned. . .the samples will be posted right here very soon!)

Thanks for stopping by today!

Saturday, August 02, 2014

The Theme is Window

Here's a card I made for club.  The theme was to have a window or "porthole" cut out of the front of the card and the image on the inside.


Now, it's no secret that I love cupcakes . . . not necessarily to eat (although I do enjoy one every now and again) . . .but when it comes to stamps . . . if it's a cupcake stamp, I simply must have it.

This particular stamp is by Impression Obsession and is so fun to color with Copics . . .I liked this stamp so much that I have the wood mounted version (which is larger) AND the clear set (which is what I used for this card). . . just can't have enough cupcakes . . .

What about you?  Do you have a favorite image that you can't resist?

Thanks for visiting today!