In San Diego, anyway . . . the weather has been beautiful these past few days . . . And Easter will be here before you know it. . .so I've made a few Easter cards (which have been very much inspired by the Lawn Fawn Design Team)
So here they are . . .
All three cards were made using Egg-stra Special Easter stamps and dies by Lawn Fawn and colored with Copic Markers.
Thanks for stopping by today!
Showing posts with label Copic Markers. Show all posts
Friday, March 06, 2015
Thursday, February 26, 2015
Class - Egg-stra Fancy Easter
Join me Thurs., March 12, 2015 (6:00 - 8:30) or Wed., April 1, 2015 (11:00 -1:30) and
create three Egg-stra Fancy Easter cards. You’ll learn how to create a stained glass
look using Elizabeth Craft Designs Glitter, Stickers, and Adhesive, as well as
Copic Markers and Alcohol Ink. These cards will be sure
to make anyone smile! Just call The Making Place at 760-736-8605 to reserve your seat.
Hope to see you there!
Thanks for stopping by today!
Hope to see you there!
Thanks for stopping by today!
Wednesday, February 18, 2015
And Here are the Rest . . .
. . . of the cards I created using Just My Type by Lawn Fawn . . .
I still can't get over just how versatile this set is. . . it's perfect for just about any occasion!
Thanks for visiting today!
I still can't get over just how versatile this set is. . . it's perfect for just about any occasion!
Thanks for visiting today!
Monday, February 16, 2015
Hello? A Message for You . . .
Remember those cards with the typewriter? Well . . . here are a few more cards using that same stamp set by Lawn Fawn . . .
Check back soon . . . I still have a few more to share . . .
Thanks for visiting today!
Check back soon . . . I still have a few more to share . . .
Thanks for visiting today!
Friday, February 13, 2015
Happy Valentine's Day!
So . . .here's a card I created using Just My Type stamp set by Lawn Fawn . . . the cardstock is by Jillibean Soup. Of course. . . I used Copics to color the typewriter.
One thing I love about this set is the versatility . . . the Valentine card could be an anniversary card, too . . . or change the cardstock and use one of the other sentiments in the set and it suddenly becomes a card suitable for any occasion!
Check back soon . . .I have more cards using this same set . . .
Thanks for stopping by today!
One thing I love about this set is the versatility . . . the Valentine card could be an anniversary card, too . . . or change the cardstock and use one of the other sentiments in the set and it suddenly becomes a card suitable for any occasion!
Check back soon . . .I have more cards using this same set . . .
Thanks for stopping by today!
Saturday, January 31, 2015
Class - Oh Lucky Day!
Join me on Sat., Feb. 21, 2015 (11:00 - 1:00) and create three cards anyone would be Lucky to receive. Stamps from Impression Obsession, Copic
Markers and Authentique’s new Lucky Collection will be featured. Just call The Making Place (760.739.8605) to reserve your spot.
Hope to see you there!
Thanks for visiting today!
Labels:
Authentique,
Cards,
Classes,
Copic Markers,
Impression Obsession
Sunday, January 04, 2015
Class - Sweets for Your Sweet
Join me Thurs., Jan. 22, 2015 (6:00 - 8:30) and
create four super
sweet treat holders for your Sweet just in time for Valentine’s Day. I’ll be featuring stamps and dies from Lawn
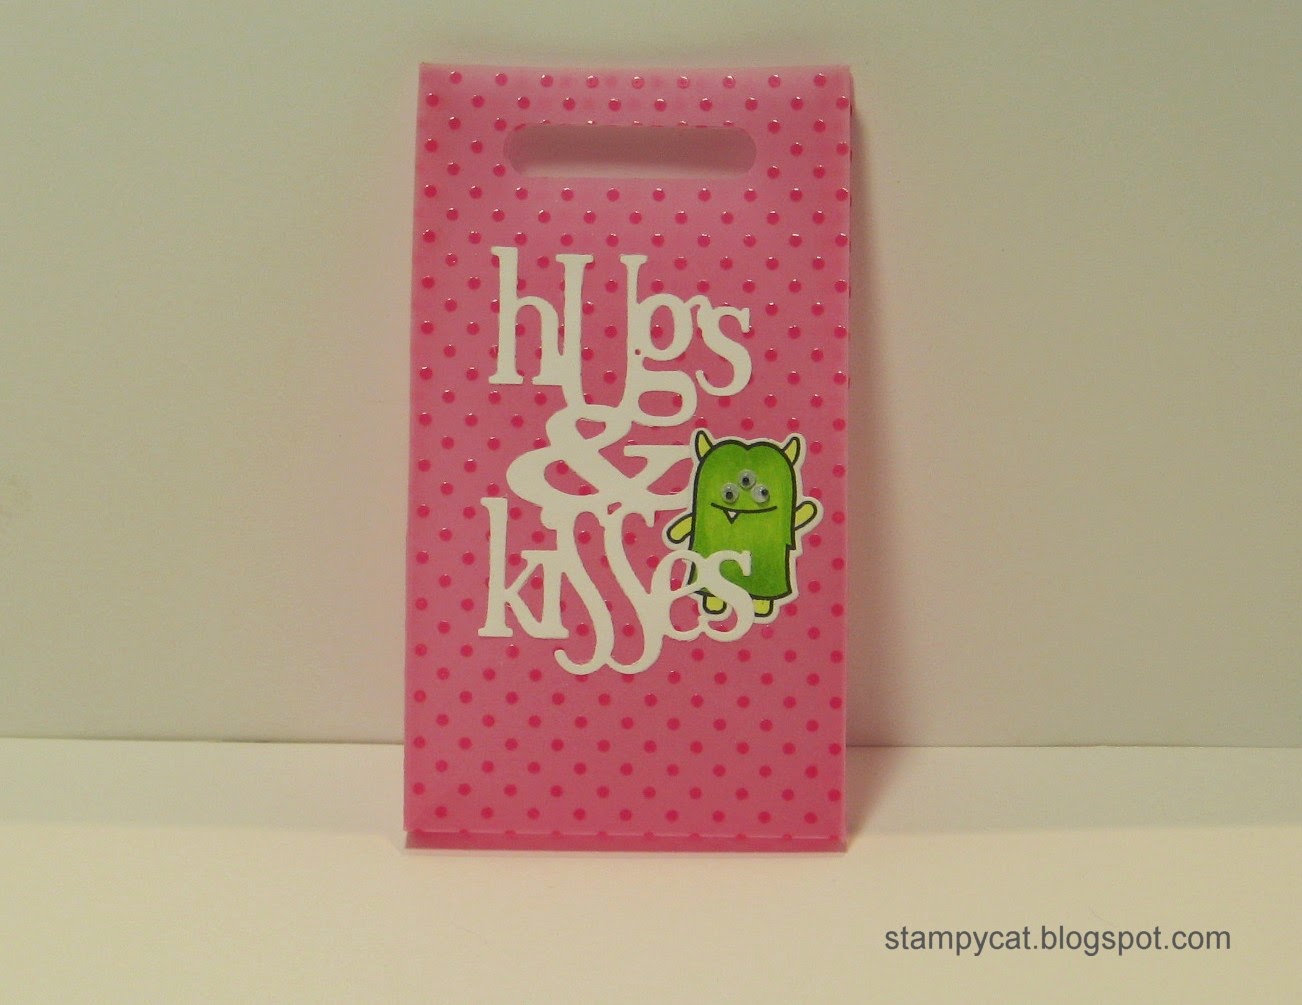
Fawn, the Envelope Punch Board and Martha Stewart’s Scoreboard. Best part . . .Jelly Bellys are included! Just call The Making Place at 760-736-8605 to reserve your seat.
Hope to see you there!
Thanks for visiting today!
Hope to see you there!
Thanks for visiting today!
Labels:
Classes,
Copic Markers,
Envelope Punch Board,
Lawn Fawn
Friday, October 24, 2014
Class - Glistening Christmas
*** DING DING DING ***
Only one spot left in this class. . . Hurry Hurry Hurry
Join me Thurs., Nov. 13, 2014 (6:00 - 8:30) and
create three glittery and glistening holiday cards. You’ll learn how to create a stained glass
look using Elizabeth Craft Designs Glitter, Stickers, and Adhesive, as well as
Copic Markers. These cards will be sure
to make anyone smile! Just call The Making Place at 760-736-8605 to reserve your seat.
Hope to see you there!
Labels:
Avery Elle,
Cards,
Classes,
Copic Markers,
Elizabeth Craft Designs
Monday, September 08, 2014
Class - Ghoulish Greetings
Join me Tuesday, Oct. 7th (11:00 - 1:00) OR Thursday, Oct. 16th (7:00pm - 9:00pm) and create three Halloween cards featuring stamps and dies from
Avery Elle. You’ll also be using Copic Markers and adding pizzazz with
pearlescent inks and sequins. These
Goulish Greetings are suitable for any ghoul or goblin on your card list. Just call The Making Place at 760-736-8605 to reserve your seat.
Hope to see you there!
Friday, August 29, 2014
Two Paws Way Up!
I was digging through all my colored images and came across this super cute cat by Penny Black and decided, it's time to finish it up and make a card.
And . . . I was able to use up some scraps . . it was a win-win . . .
Thanks for stopping by!
Saturday, August 23, 2014
Class - Color Me Happy
Join me Tues., Sept. 23rd,
2014 (11:00 – 2:00) and learn basic blending and shading techniques using Copic Markers. You will also learn about the features of
Copics and which ink and cardstock is best suited to use with them. You will have a good amount of time to
practice the techniques and create three cards perfect for any occasion. Just call The Making Place at 760-736-8605 to reserve your seat.
Hope to see you there!
Labels:
Avery Elle,
Classes,
Claudine Hellmuth,
Copic Markers
Wednesday, August 13, 2014
The Theme is Kids
Another Stamp Club card . . . this time the theme was to create a card suitable for children. I thought that this super cute fairy by Eat Cake Graphics would be perfect . . . that, and I got to use my Copics. . .which I love.
Thanks for stopping by today!
Saturday, August 02, 2014
The Theme is Window
Here's a card I made for club. The theme was to have a window or "porthole" cut out of the front of the card and the image on the inside.
Now, it's no secret that I love cupcakes . . . not necessarily to eat (although I do enjoy one every now and again) . . .but when it comes to stamps . . . if it's a cupcake stamp, I simply must have it.
This particular stamp is by Impression Obsession and is so fun to color with Copics . . .I liked this stamp so much that I have the wood mounted version (which is larger) AND the clear set (which is what I used for this card). . . just can't have enough cupcakes . . .
What about you? Do you have a favorite image that you can't resist?
Thanks for visiting today!
Thursday, July 31, 2014
It's a File Folder
Here's another project using that fabulous Envelope Punch Board . . . a little file folder. It was one of the projects I did during my demo, too.
People really seemed to like it. . . so, here's a tutorial on how to do it.
Step 1:
Start with 8½” by 5½” card base, folded in half
Step 2:
Step 3:
Slide the cardstock over to 3” mark on the left guide ruler and punch again.
Step 4:
Trim ½” off the opposite side and the repeat Step 2 and Step 3
Step 5:
Line up the dip from the punch with the groove of the paper trimmer and cut off the rest of the top and bottom edges so that just the tab is left. (Or just use scissors.)
Step 6:
Using the Reverse Punch, round the corners of the file folder and embellish as desired.
Viola! You have a file folder!
Thanks for stopping by today!
People really seemed to like it. . . so, here's a tutorial on how to do it.
Supplies
Needed:
·
Envelope
Punch Board
·
8
½” x 5 ½” piece of cardstock
·
Scissors
or Paper Trimmer
Start with 8½” by 5½” card base, folded in half
Step 2:
With
the 5 ½” side of the cardstock at the top of the board, line up the left edge
with the left side of the opening in the punch part of the board and punch.
Slide the cardstock over to 3” mark on the left guide ruler and punch again.
Step 4:
Trim ½” off the opposite side and the repeat Step 2 and Step 3
Step 5:
Line up the dip from the punch with the groove of the paper trimmer and cut off the rest of the top and bottom edges so that just the tab is left. (Or just use scissors.)
Step 6:
Using the Reverse Punch, round the corners of the file folder and embellish as desired.
Viola! You have a file folder!
Thanks for stopping by today!
Tuesday, July 29, 2014
Thanks for Stopping By!
Thanks to all of you who stopped by The Making Place last Sunday for my demos! What a blast it was!
If you weren't able to stop by, I'll be posting all the projects I made using that fancy little board right here on the blog.
Here's a really quick and easy project that I made . . .
I just created an envelope for a 3 1/2 "by 6 1/2" card and cut off the top flap to make a pocket for that EVER so cute BeBunni Tag. Add a belly band. . .and Viola! it's done.
See? Quick and easy. . .
Thanks for visiting today!
If you weren't able to stop by, I'll be posting all the projects I made using that fancy little board right here on the blog.
Here's a really quick and easy project that I made . . .
I just created an envelope for a 3 1/2 "by 6 1/2" card and cut off the top flap to make a pocket for that EVER so cute BeBunni Tag. Add a belly band. . .and Viola! it's done.
See? Quick and easy. . .
Thanks for visiting today!
Sunday, July 27, 2014
Birthday Bunny
Look, look, look how happy this little bunny is!
Of course, he IS carrying a big ol' piece of cake and that would make anyone happy, right? Cake makes me happy. . . . chocolate cake, vanilla cake . . . fine, any cake makes me happy.
This stamp is from Wild Rose Studio . . . oh MY . . .they have some pretty stinkin' cute images! I've got more projects using more of their stamps coming right up.
Thanks for stopping by today!
Friday, July 25, 2014
A Cat in a Hat Box
Another little card from my stack of colored images . . .
This stamp is from the same set that my sister gave me a while back. So many cute critters in there to stamp and color. . .
Thanks for stopping by today!
This stamp is from the same set that my sister gave me a while back. So many cute critters in there to stamp and color. . .
Thanks for stopping by today!
Monday, July 21, 2014
Hello, Humphrey
I'm not one who can sit and just watch TV . . . so, I will often stamp up a few images and color them while I watch something. Which usually means I don't watch it at all . . . I just listen and lift my head up if something pulls my attention away from coloring.
So, I end up with a stack of images colored up and ready to be added to a card. My latestaddiction passion is Humphrey by Crafter's Companion. . .
Here are few cards I made using him.
Isn't he the cutest??
Thanks for visiting today!
So, I end up with a stack of images colored up and ready to be added to a card. My latest
Here are few cards I made using him.
Isn't he the cutest??
Thanks for visiting today!
Sunday, May 11, 2014
Little Lottie
Happy Mother's Day! Just wanted to share a card I made using another stamp set from Crafter's Companion. How could I resist? She is just entirely too cute for words!
What I used:
Swinging By stamp set by Crafter's Companion
Tuxedo Black Mememnto Ink
Copic Markers: W0, W1, W2, C1, C3, B00, B02, B05, B18, R05, R17, E07, YR23, Y26, Y21
Patterned paper: from my stash
Thanks for swinging by today!
What I used:
Swinging By stamp set by Crafter's Companion
Tuxedo Black Mememnto Ink
Copic Markers: W0, W1, W2, C1, C3, B00, B02, B05, B18, R05, R17, E07, YR23, Y26, Y21
Patterned paper: from my stash
Thanks for swinging by today!
Monday, May 05, 2014
A Very Barkley Thank You
Eeeep! My sister surprised me with a new stamp set from Crafter's Companion. Of course, I just had to sit down and make a thank you card right away.
Isn't Barkley EVER so cute peeking through those flowers?? And doesn't that background paper work perfectly? I love it when that happens. . . .I colored the image first and then chose the paper. I usually choose paper first.
What I used:
Everyday with Barkley clear stamp set by Crafter's Companion
Simple Sayings stamp set by Stamper's Anonymous
Tuxedo Black Memento Ink
Antique Linen Distress Ink
Copic Markers: C3, C5, C7, W1, Y02, Y06, YR00, YR02, YG63, YG67, BV00, BV02
X-Press It Cardstock
Patterned paper: Togetherness by Webster's Pages
Thanks for visiting today!
Isn't Barkley EVER so cute peeking through those flowers?? And doesn't that background paper work perfectly? I love it when that happens. . . .I colored the image first and then chose the paper. I usually choose paper first.
What I used:
Everyday with Barkley clear stamp set by Crafter's Companion
Simple Sayings stamp set by Stamper's Anonymous
Tuxedo Black Memento Ink
Antique Linen Distress Ink
Copic Markers: C3, C5, C7, W1, Y02, Y06, YR00, YR02, YG63, YG67, BV00, BV02
X-Press It Cardstock
Patterned paper: Togetherness by Webster's Pages
Thanks for visiting today!
Subscribe to:
Posts (Atom)