Showing posts with label Envelope Punch Board. Show all posts

Sunday, January 04, 2015

Class - Sweets for Your Sweet

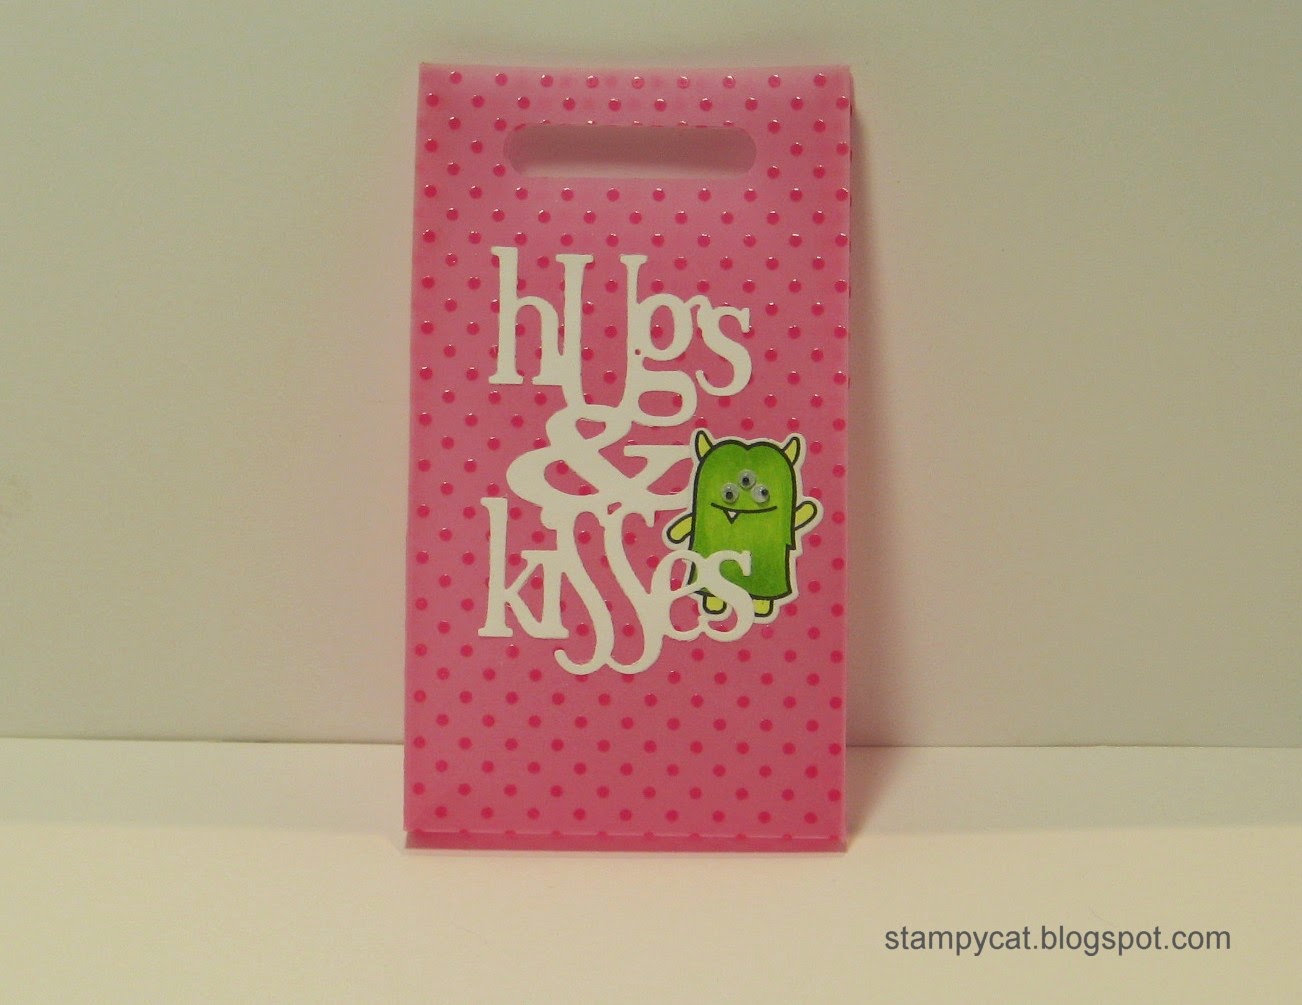
Join me Thurs., Jan. 22, 2015 (6:00 - 8:30) and create four super sweet treat holders for your Sweet just in time for Valentine’s Day.  I’ll be featuring stamps and dies from Lawn Fawn, the Envelope Punch Board and Martha Stewart’s Scoreboard.  Best part . . .Jelly Bellys are included!  Just call The Making Place at 760-736-8605 to reserve your seat.


Hope to see you there!

Thanks for visiting today!

Thursday, October 02, 2014

Class - Frighteningly Fun Halloween

Do you have an Envelope Punch Board?  Interested in what else it can do?  Join me on Thursday, October 9, 2014 (6:00 - 9:00) and learn how to create MORE than just envelopes with this multi-purpose tool.  You’ll create four frighteningly fun projects ready to be filled with Halloween Treats for all the ghouls and goblins.  Just call The Making Place at 760-736-8605 to reserve your seat.


 Hope to see you there!

Thanks for stopping by!

Wednesday, August 27, 2014

Easy Gift Card Holder

Yep . . .I'm still on the Envelope Punch Board kick . . . I created a super easy, super cute gift card holder and decided to do a tutorial on it. . .so here ya go!


Supplies Needed:
Envelope Punch Board
Score Board
One piece of 4 1/2" x 6 1/2" cardstock
1 piece of 4 1/2" x 1 1/4" cardstock
Stamps, Ribbon, etc. . .

Step 1:
With the 4 1/2" side at the top of the board, line up the left edge at 3 1/4" and punch.


Step 2:
Flip the cardstock over right to left and repeat Step 1.


Step 3:
Score 1 1/4" from the bottom.


Step 4:
Fold along the scored line and adhere.
** Important Note: Be sure to apply adhesive only to the left & right sides so your gift card has a pocket**


Step 5:
Bring the top piece down and tuck the tab behind the bottom panel.


Step 6:
Use a scoring tool to create a nice crease.


Step 7:
Open the gift card holder and adhere the 4 1/2" x 1 1/4" piece of cardstock to the front bottom panel.


Step 8:
Embellish as desired . . and Viola!  You have a gift card holder.


Thanks for visiting today!

Friday, August 08, 2014

It's a Box

I know the Envelope Punch Board is nothing new . . . but, I've just had so much fun with it.  This little box is one of the sample projects I made for my "Demo Day" . . . I also showed how to make this box during my demo.  Thought I'd share a tutorial with you here so you can make a box, too.


Supplies Needed:
  • Envelope Punch Board
  • Four sheets of 6" x 6" cardstock
  • Scissors
  • Aileene's Quick Dry Tacky Glue or Glossy Accents


Step 1:
Create four envelopes using the Envelope Punch Board for a 3" x 4" card.  Fold all score lines.


Step 2:
Cut off the right flaps of each envelope.


Step 3: 
Line up the envelopes so the left flaps overlap where the right flaps were cut off and glue them down.


Step 4:
Fold the remaining left flap down (left to right) and apply adhesive.


Step 5:
Fold the fourth envelope over to meet the flap with adhesive and press down.  (You will have a flat box.)


Step 6:
Adhere the bottom flaps.  Fold top flaps over and adhere, if desired.  Embellish to your heart's content.


I hope you enjoyed today's tutorial . . . .thanks for stopping by!


Monday, August 04, 2014

A Tisket, A Tasket . . .

. . . I made a basket . . . using the Envelope Punch Board!  It's true!  You can create this EVER so cute basket with the Envelope Punch Board!


I gotta admit . . . when I was asked to demo this thing, I wasn't too impressed with it. . . my thought was, "eh, it makes envelopes . . . big deal."

Oh how wrong I was!  This fancy little tool can do so much!  Boxes, bags, baskets . . .the list goes on.  I've really enjoyed creating all sorts of things with it.

So much so, that I'll be teaching a class at The Making Place in September.  (Stay tuned. . .the samples will be posted right here very soon!)

Thanks for stopping by today!

Thursday, July 31, 2014

It's a File Folder

Here's another project using that fabulous Envelope Punch Board . . . a little file folder.  It was one of the projects I did during my demo, too.


People really seemed to like it. . . so, here's a tutorial on how to do it.


Supplies Needed:

·         Envelope Punch Board
·         8 ½” x 5 ½” piece of cardstock
·         Scissors or Paper Trimmer

Step 1:
Start with 8½” by 5½” card base, folded in half


Step 2:
With the 5 ½” side of the cardstock at the top of the board, line up the left edge with the left side of the opening in the punch part of the board and punch.


Step 3:
Slide the cardstock over to 3” mark on the left guide ruler and punch again.


Step 4:

Trim ½” off the opposite side and the repeat Step 2 and Step 3


Step 5:
Line up the dip from the punch with the groove of the paper trimmer and cut off the rest of the top and bottom edges so that just the tab is left.  (Or just use scissors.)


Step 6:
Using the Reverse Punch, round the corners of the file folder and embellish as desired.


Viola!  You have a file folder!

Thanks for stopping by today!

Tuesday, July 29, 2014

Thanks for Stopping By!

Thanks to all of you who stopped by The Making Place last Sunday for my demos!  What a blast it was!

If you weren't able to stop by, I'll be posting all the projects I made using that fancy little board right here on the blog.

Here's a really quick and easy project that I made . . .


I just created an envelope for a 3 1/2 "by 6 1/2" card and cut off the top flap to make a pocket for that EVER so cute BeBunni Tag.  Add a belly band. . .and Viola! it's done.

See? Quick and easy. . .

Thanks for visiting today!

Saturday, July 19, 2014

Demo - Envelope Punch Board & Gamsol

That's right!  I'll be doing demonstrations using the Envelope Punch Board by We R Memory Keepers from 11:00 - 1:00 on Sunday, July 27th at The Making Place.


Oh . .. but it's a box, you say?  YES!  But it's a box made from envelopes!  I love a multi-purpose tool . . and this thing truly is multi-purpose . . .

And then, from 1:00 - 3:00 in that same day, I'll show you how to use Gamsol with colored pencils to get a nice water colored look.


I'll be using the Autumn Door stamp from Pink Ink Stamps . . . love the delicate lines of this image . . .it seems that it was made just to be used with Gamsol!


Had to show you . . . of course I made a custom envelope!

Hope to see you there!

Thanks for stopping by!