Only one spot left in this class. . . Hurry Hurry Hurry
Join me Thurs., Nov. 13, 2014 (6:00 - 8:30) and
create three glittery and glistening holiday cards. You’ll learn how to create a stained glass
look using Elizabeth Craft Designs Glitter, Stickers, and Adhesive, as well as
Copic Markers. These cards will be sure
to make anyone smile! Just call The Making Placeat 760-736-8605 to reserve your seat.
It's time to go through my studio and share some of my most loved stuff with you! Check out my listings on eBay . . .you just might find a fancy treasure. :D
Do you have an Envelope Punch Board?
Interested in what else it can do? Join me on Thursday, October 9, 2014 (6:00 - 9:00) and learn how to create MORE than just envelopes with
this multi-purpose tool. You’ll create
four frighteningly fun projects ready to be filled with Halloween Treats for
all the ghouls and goblins. Just callThe Making Placeat 760-736-8605 to reserve your seat.
Join me Tuesday, Oct. 7th (11:00 - 1:00) OR Thursday, Oct. 16th (7:00pm - 9:00pm) and create three Halloween cards featuring stamps and dies from
Avery Elle. You’ll also be using Copic Markers and adding pizzazz with
pearlescent inks and sequins. These
Goulish Greetings are suitable for any ghoul or goblin on your card list. Just callThe Making Placeat 760-736-8605 to reserve your seat.
Monday, August 25th, 2014 . . . I waited (impatiently) all day for UPS to arrive. That Big Brown Truck had a package for me . . . and I knew it would be delivered because I had been obsessively tracking the package since I placed my order just two days earlier.
When I heard the thump on the front porch and the driver yell, "UPS," I nearly tripped over my own two feet (and two dogs) trying to get to the front door. It was here. . . it was really, really here!
I had been dying to read this book since I first heard about it back in March . . . it was a story that I knew I would love. Heather Mariedid not disappoint. I finished reading it on Wednesday, August 27. Yes, this book is THAT good. A true page turner from beginning to end. . . and it had me guessing the whole time . . .which was totally awesome because I always figure out the "Whodunit" way before I finish a book.
Heather Marie has a fantastic writing style . . .clear, concise, yet so descriptive you can feel the raindrops hit you.
Interested in reading this? It's available at Barnes & Noble and Amazon . . .it's also available on Nook and Kindle!
AND . . . she's having a signing on October 4th in Midtown Sacramento at Avid Reader off Broadway starting at 2PM. You can get all the details here.
Still curious about the book . . . here's a trailer for you to watch . . . and if this doesn't make you run out and get her book . . .well, I don't know what will. Enjoy!
Haven't made a wedding card in a very long time . . . and I really had to think about what I was going to do. I had an idea in my head . . .I wanted it all white. . .I wanted texture. . . I wanted embellishments . . . translating from my brain to paper doesn't always work . . .but it did this time! I'm quite pleased with how it turned out.
Yep . . .I'm still on the Envelope Punch Board kick . . . I created a super easy, super cute gift card holder and decided to do a tutorial on it. . .so here ya go!
Supplies Needed:
Envelope Punch Board
Score Board
One piece of 4 1/2" x 6 1/2" cardstock
1 piece of 4 1/2" x 1 1/4" cardstock
Stamps, Ribbon, etc. . .
Step 1:
With the 4 1/2" side at the top of the board, line up the left edge at 3 1/4" and punch.
Step 2:
Flip the cardstock over right to left and repeat Step 1.
Step 3:
Score 1 1/4" from the bottom.
Step 4:
Fold along the scored line and adhere.
** Important Note: Be sure to apply adhesive only to the left & right sides so your gift card has a pocket**
Step 5:
Bring the top piece down and tuck the tab behind the bottom panel.
Step 6:
Use a scoring tool to create a nice crease.
Step 7:
Open the gift card holder and adhere the 4 1/2" x 1 1/4" piece of cardstock to the front bottom panel.
Step 8:
Embellish as desired . . and Viola! You have a gift card holder.
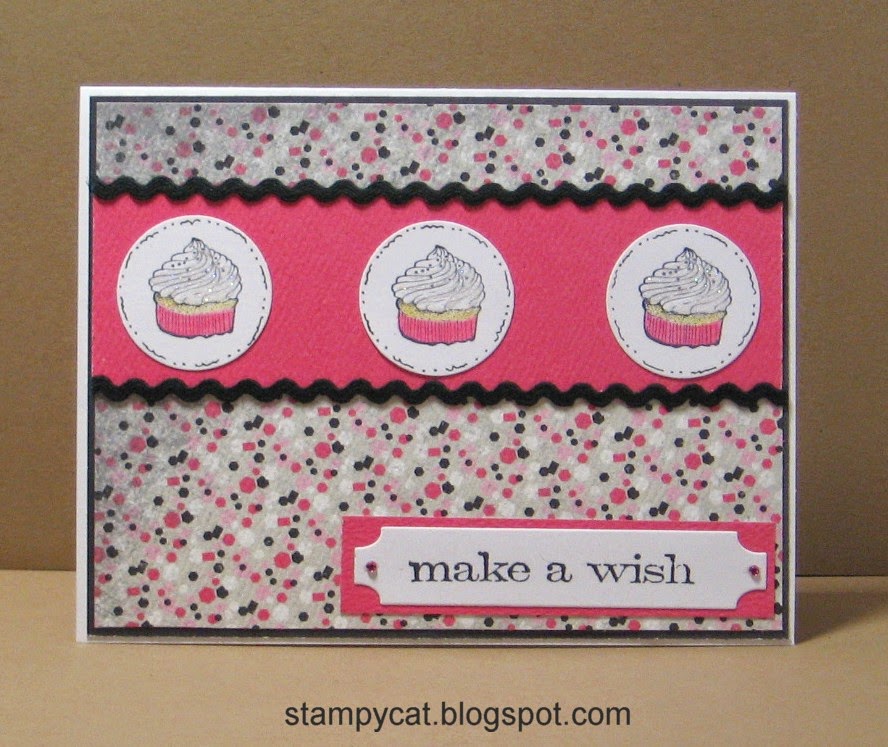
Couldn't resist another entry in the Avery Elle challenge. . . I do love cupcakes (as mentioned a few times in previous posts) and I do love sequins. . .they are so sparkly.
Here's a shaker card created using Avery Elle Cupcake stamps:
Oh hey . . .I decided to enter a challenge. . .not something I do very often, but I do love Avery Elle stamps and dies . . .and the theme for this challenge is sequins . . .and I'm all about sequins lately.
So . . . here's a few card I created:
Stamps Used: Twisted Treats Stamps & Die; To The Point Stamps
Join me Tues., Sept. 23rd,
2014 (11:00 – 2:00) and learn basic blending and shading techniques using Copic Markers. You will also learn about the features of
Copics and which ink and cardstock is best suited to use with them. You will have a good amount of time to
practice the techniques and create three cards perfect for any occasion. Just call The Making Place at 760-736-8605 to reserve your seat.
Another Stamp Club card . . . this time the theme was to create a card suitable for children. I thought that this super cute fairy by Eat Cake Graphics would be perfect . . . that, and I got to use my Copics. . .which I love.
Really . . . can one ever have to many cupcake stamps?? I think not . . .so I picked up a super cute stamp set by Prima that not only has a cupcake, but a bunch of coffee related stamps as well. (Which is another image that's my favorite to use).
On a side note. . . I almost named my blog "Cupcakes & Coffee Cups" . . .but realized that there's nothing to obvious about being a crafty type of blog . . . .
Anywho . . . here's a card I created using the Coffee Break Cling Stamp Set by Prima and a sentiment from Tim Holtz' Simple Sayings Set, which was stamped on a piece of cardstock die cut using one of the (many) fabu dies in the Custom Panels set from Avery Elle:
Pretty quick . . . pretty simple . .. but I'm happy with how it turned out.
I know the Envelope Punch Board is nothing new . . . but, I've just had so much fun with it. This little box is one of the sample projects I made for my "Demo Day" . . . I also showed how to make this box during my demo. Thought I'd share a tutorial with you here so you can make a box, too.
Supplies Needed:
Envelope Punch Board
Four sheets of 6" x 6" cardstock
Scissors
Aileene's Quick Dry Tacky Glue or Glossy Accents
Step 1:
Create four envelopes using the Envelope Punch Board for a 3" x 4" card. Fold all score lines.
Step 2:
Cut off the right flaps of each envelope.
Step 3:
Line up
the envelopes so the left flaps overlap where the right flaps were cut off and
glue them down.
Step 4:
Fold
the remaining left flap down (left to right) and apply adhesive.
Step 5:
Fold
the fourth envelope over to meet the flap with adhesive and press down. (You will have a flat box.)
Step 6:
Adhere
the bottom flaps. Fold top flaps over
and adhere, if desired. Embellish to your heart's content.
I hope you enjoyed today's tutorial . . . .thanks for stopping by!
. . . I made a basket . . . using the Envelope Punch Board! It's true! You can create this EVER so cute basket with the Envelope Punch Board!
I gotta admit . . . when I was asked to demo this thing, I wasn't too impressed with it. . . my thought was, "eh, it makes envelopes . . . big deal."
Oh how wrong I was! This fancy little tool can do so much! Boxes, bags, baskets . . .the list goes on. I've really enjoyed creating all sorts of things with it.
So much so, that I'll be teaching a class at The Making Place in September. (Stay tuned. . .the samples will be posted right here very soon!)
Here's a card I made for club. The theme was to have a window or "porthole" cut out of the front of the card and the image on the inside.
Now, it's no secret that I love cupcakes . . . not necessarily to eat (although I do enjoy one every now and again) . . .but when it comes to stamps . . . if it's a cupcake stamp, I simply must have it.
This particular stamp is by Impression Obsession and is so fun to color with Copics . . .I liked this stamp so much that I have the wood mounted version (which is larger) AND the clear set (which is what I used for this card). . . just can't have enough cupcakes . . .
What about you? Do you have a favorite image that you can't resist?
Here's another project using that fabulous Envelope Punch Board . . . a little file folder. It was one of the projects I did during my demo, too.
People really seemed to like it. . . so, here's a tutorial on how to do it.
Supplies
Needed:
·Envelope
Punch Board
·8
½” x 5 ½” piece of cardstock
·Scissors
or Paper Trimmer
Step 1: Start with 8½” by 5½” card
base, folded in half
Step 2:
With
the 5 ½” side of the cardstock at the top of the board, line up the left edge
with the left side of the opening in the punch part of the board and punch.
Step 3: Slide the cardstock over to
3” mark on the left guide ruler and punch again.
Step 4: Trim ½” off the opposite side
and the repeat Step 2 and Step 3
Step 5: Line up the dip from the punch with the groove of the
paper trimmer and cut off the rest of the top and bottom edges so that just the
tab is left.(Or just use scissors.)
Step 6: Using the Reverse Punch, round the
corners of the file folder and embellish as desired.